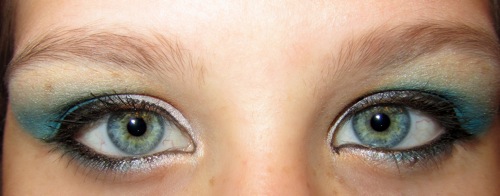
Some people like natural, toned-down makeup. Me? I find that alright, but what I really love is bright colors on my eyes. Here I'll show you how to do one of my favorite looks, enjoy!
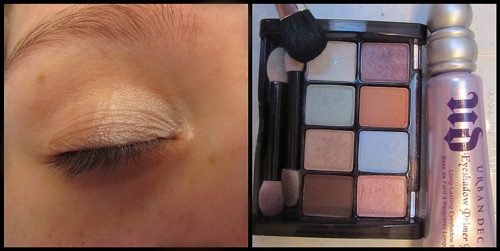
Step One: Prime your eyes. If you don't have primer you can use a dot of Vaseline as a substitute. I'm using "Urban Decay Eyeshadow Primer Potion". After you prime your eyes, apply a white shadow to the inner corner of your lid. I'm using "Maybelline Hushed Tints".
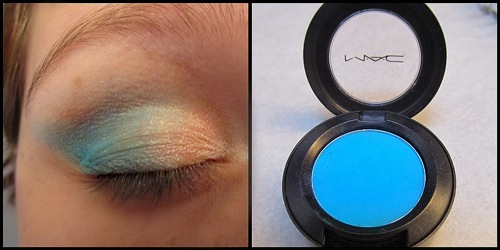
Step Two: Use a bright blue shadow on the outer corner of your eye and take it out, angling it to your eyebrow. Blend the blue into the crease and blend it in with the white. I'm using "MAC Zingy".
Step Three: Using an angle brush, sweep on the same blue shadow on the outer corner of your eye on the bottom lash line. Make this line go halfway.
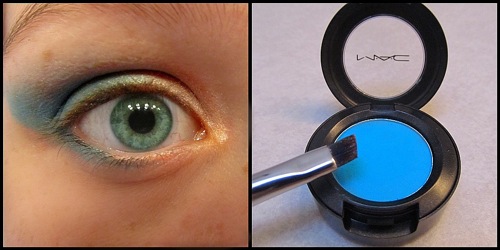
Step Four: Using an angle brush again, use your white powder on the inside corner of your eye on the bottom lash line. Connect this to the blue and blend it.
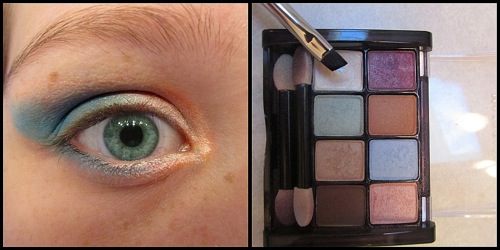
Step Five: Add white below your eyebrow and blend it into the blue. I sadly forgot to take a picture of this step, but you get the idea.
Step Six: Use a liquid liner on your top lid and bring it out into a bit of a wing. Tug at the corner of your eye for easy application. I'm using "MAC Rapid Black Penultimate Eye Liner".
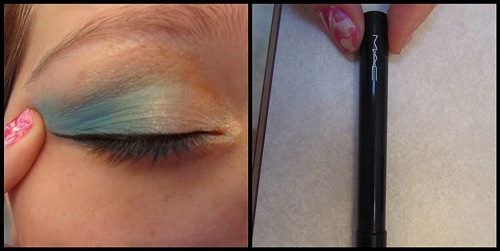
Step Seven: Use a pencil liner on your bottom lash line and on your waterline. I'm using "Almay intense i-colour". Curl your lashes then apply mascara. I'm using "Great Lash Very Black."
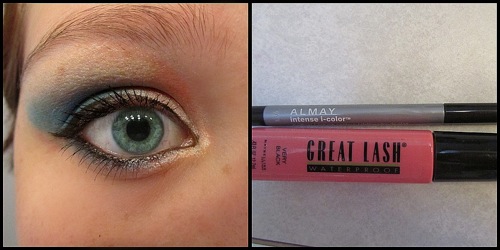
Step Eight: You already have a lot going on with your eyes so skip adding blush. For your lips just add a clear gloss. I'm using "Rimmel Jelly Gloss".
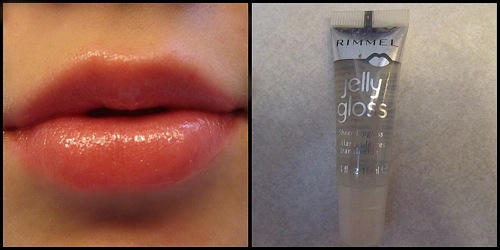
Of course you can tone this look down however much you want to suit your preferences. And there you go! A nice, bright blue look to stand out for back to school!
-ocean10kv