Want a nail polish look that's funky? Yes, funky. I have a nail design for you that is the funkiest thing ever! It's a technique called "Marbling".
Now before I start off with showing you how to do this, I'm going to warn you that this is a messy job. You WILL get nail polish on your skin, so if you do not have any nail polish remover in your possession, do not attempt this. You need more than one color of nail polish to do this, you can do it with as many colors as you desire. I'll be showing you a look using two colors.
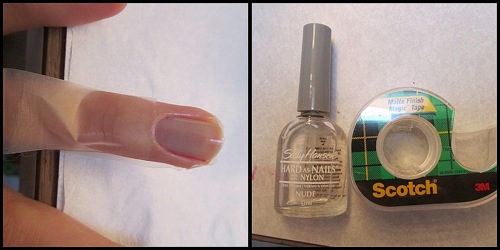
Step One: Start off with a base coat on your nail. I'm using "Sally Hansen Hard as Nails". Once that's dried, add a strip of tape on the back of your finger going down the length of it, and another strip of tape on the front of your finger going down the length of it. This will lessen the amount of clean up you will have to do on your skin.
Step Two: Fill up a cup with water. Put a drop of the first color nail polish in it. I'm using "Sally Hansen Insta-Dri".
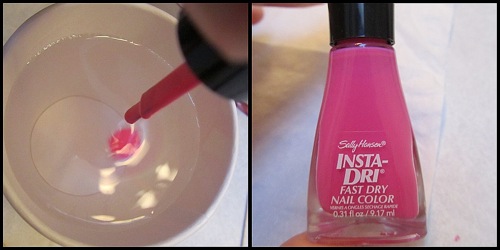
Step Three: Add a drop of the second color. I'm using "Sally Hansen Insta-Dri".
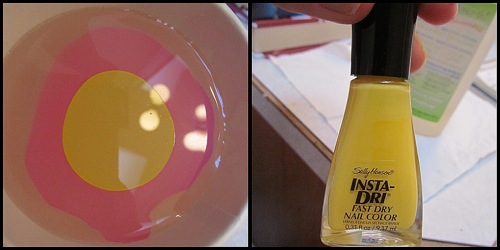
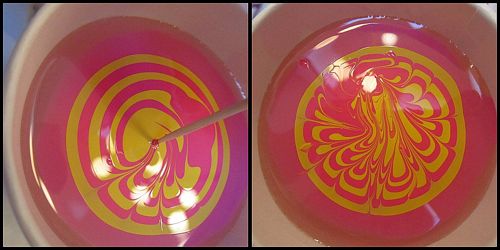
Step Four: Continue the pattern of adding a drop of one color, then a drop of the other, until you get something that looks like the following:
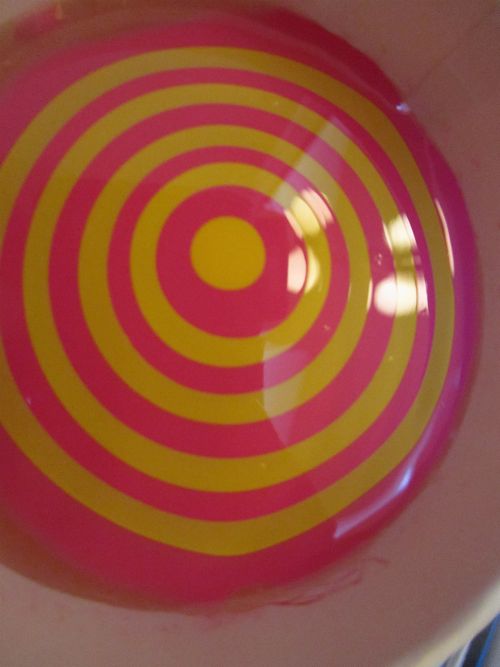
Step Five: Using a toothpick, draw lines going towards the center, in the polish.
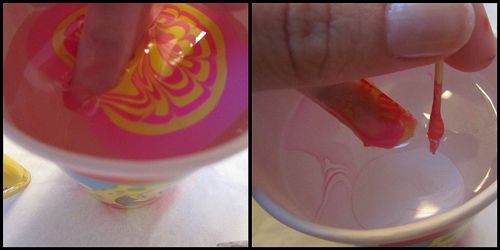
Step Six: Choose a spot where you like the design, and dip in your finger, nail first. As your nail is submerged in the water, use the toothpick to pick up the excess polish floating in the water. To do this, do a circular motion with the toothpick, kinda like you would if you were making cotton candy. Once all the excess polish is out of the water, remove your nail.
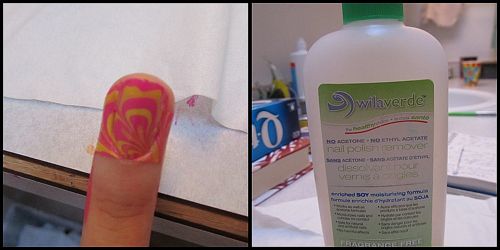
Step Seven: Remove the tape, then allow the polish to dry. Use nail polish remover to remove anything left on your skin, I'm using (Wildaverde Nail Polish Remover).
Step Eight: Once your nails are completely dry, add a top coat. I'm using "L'Oreal Top Coat."
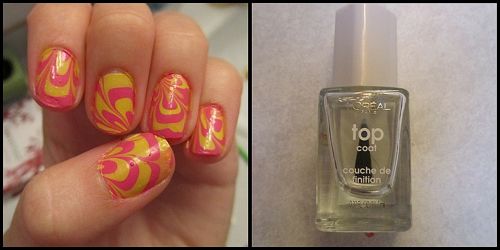
And that's it! Voila, your funky nails are complete!
-ocean10kv