I love Taylor Swift's eye makeup in her music video, "Mine". It is very low key and natural looking, while highlighting your lashes. I hope you enjoy this tutorial of how to get this look I put together, just using drug store makeup products. Let's get started!
Step 1:
Before you cover your face with makeup, wash your face with whatever product you use. And put on your desired brand and kind of foundation.
Step 2:
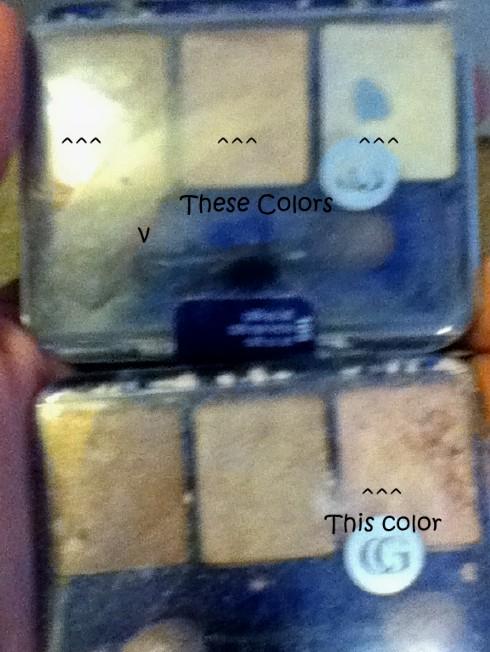
Here are the eye shadows that I used to achieve this look. Both are from the brand, Covergirl and I bought them from Walmart for about $5 each. The top one is called Cafe Au Lait and the bottom is Shimmering Sands. I used all three of the colors in Cafe Au Lait and just the pink color in Shimmering Sands.
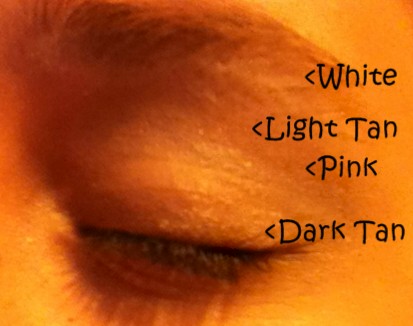
To achieve the natural looking eye shadow, I used colors that highlight your eye a little bit without using bright colors. First, I used the white color in Cafe Au Lait and wiped it just underneath your eyebrow in a very thin and light line. To make your eyes pop a little bit more, but it is optional, to dab a little of the white on the corners of your eyes. Doing this makes you seem more awake. Next, you are going to use the darkest color, which I called Dark Tan, in the Cafe Au Lait. Wipe this color on the part of your lid from your lashes up to your crease. After you have done this, take the middle color in the Cafe Au Lait, which I called Light Tan, and wipe it just below the white color you had put on earlier. Make sure the Light Tan and the Dark Tan do not mix; leave a little space for the pink color. Now, take the pink color in Shimmering Sands and make a line between the Light and Dark Tan. When you put it on at first it is going to seem very bright and odd, but you are going to blend it in with the Light and Dark tan. Make a circle motion, like you would to brush your teeth, to blend this in.
Step 3:
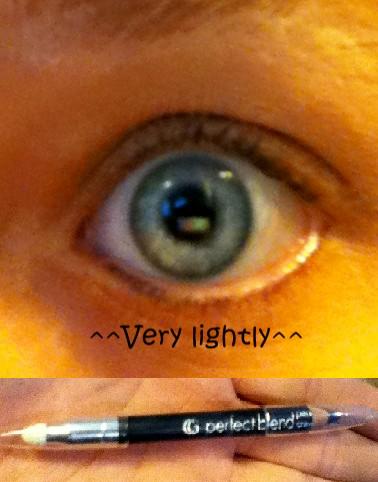
In the step, as you can see in the picture, you use very light pencil eyeliner just on the bottom lashes. The eyeliner I used is also by Covergirl and it is their Perfect Blend Pencil in basic black. I bought this at Walmart for about $3.
Make sure the pencil isn't completely sharp, but isn't too dull. Having it like this makes it so that the color isn't really dark. As you draw the line, keep it as close to your waterline as possible.
Step 4:
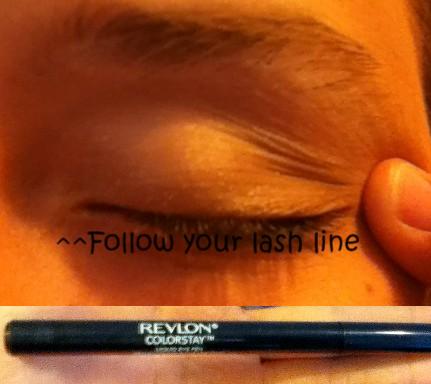
I think this is the most difficult step, because it deals with liquid eye liner. You have to not rush this step, just take your time.
I have issues with finding the perfect liquid eyeliner. At first I tried one by Covergirl, but I didn't like it because it was pretty small, about half of the size of the one in the picture above and I paid $7 for it. I got tired of paying $7 every five or so weeks to replace it because it dried up or ran out. I finally found one I liked, so far (no guarantees, it's only been three weeks). This liquid eyeliner is by Revlon. It is their Colorstay Liquid Eye Pen in Blackest Black. I found this one also at Walmart for about $8.
Take your index finger and pull your eye lid away like I did in the picture. Then follow your lash line until you reach the end of your lashes. It looks like the line is in one big sweep, but I assure you, it's not. It is a bunch of little lines. After you do this, you are going to add a small flick, like a cat eye. In the music video, Taylor Swift's flick is pretty long, but I wanted to make this a every day kind of look, so I made my flick pretty small. If you don't know how to do a cat eye, you act like you are finishing the line from your bottom lashes.
Step 5:
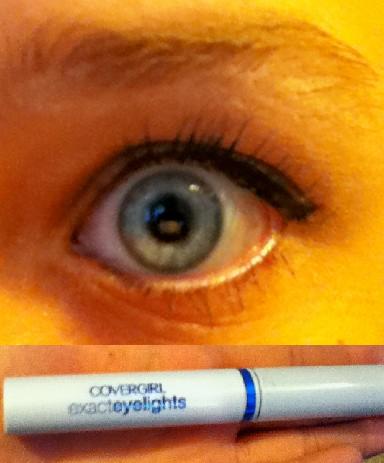
Here is the last step and finishing touch-mascara. The mascara I am in love with and I used here is by Covergirl and it is their Exact Eyelights Eye-Brightening Waterproof Mascara. I bought this for about $8 at Walmart. What I love about this mascara is that it matches the perfect mascara color for your eye color. Because my eyes are a bright blue, although I think they look kind of green in the pictures, I use the mascara for blue eyes. There are four choices: Hazel, Brown, Green and Blue.
When you apply the mascara, pay special attention to the top lashes. As you noticed in the picture, you can't see her bottom lashes well, you see the eyeliner. For the most part, you notice her thick and beautiful top lashes. I just used one coat for the bottom lashes and paid special attention to the ones farthest away from your nose. For the top lashes use a generous amount of coats, but not too much that it makes your lashes look crunchy and soaked in mascara.
And there you have it! Finish off the look with some blush and lip gloss and you are set.
Author's Note: I hope you enjoyed this. I enjoyed recreating this look! If you have any suggestions for another celebrity's eye makeup, send me a y-mail or post it in the BBS. Thanks!