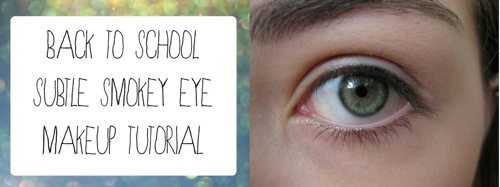
Hello everyone! School is right around the corner, and now that the hot weather is no longer melting your makeup off, it's time to start prepping for fall! If you want to know how to do a subtle smokey eye that's appropriate and still noticeable, keep reading.
Start with a clean base. Make sure there is no oil or leftover makeup on your eyes.
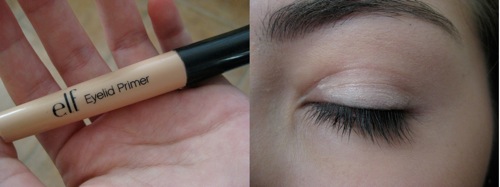
Next, use an eyeshadow primer to keep your eyeshadow lasting all day without creasing! I'm using e.l.f. Eyeshadow Primer.
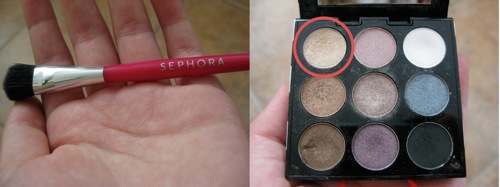
Use a shimmery light neutral color all over your lid. I'm using an eyeshadow from the Sephora mini kit. Apply with a wide eyeshadow brush, I'm using one from the Sephora traveling kit.
It should look like this. Next take a shader brush to apply the crease color. I'm using a shading brush from Studio Basics.
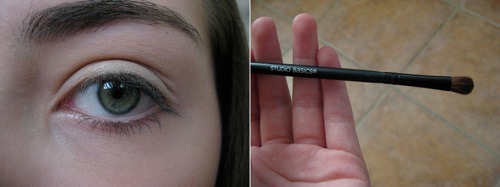
For the crease color, use a darker tan. I'm using one from the Sephora kit. Focus on the outer corner of your eyes and the crease. Blend well.
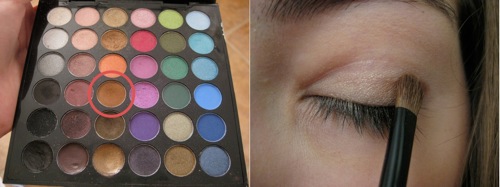
Now use a dark brown color and the same shading brush. Focus the color on the very outer corner of your eyes in a sideways v shape.
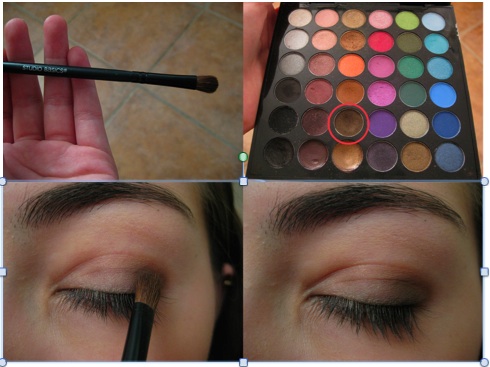
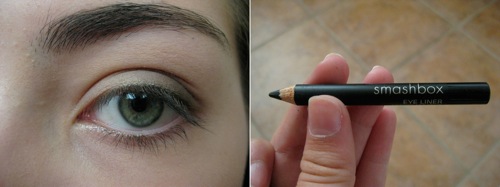
It should look like this. Next take a black eyeliner pencil, I'm using a black Smashbox eyeliner, and make it thicker on the outer corners and thinner towards the inner corners of your eyes. Try to get as close to the lash line as possible.
Next curl your eyelashes to make them more perky and appear thicker. I'm using an e.l.f. curler. Apply mascara. I'm using Covergirl's mascara in black.
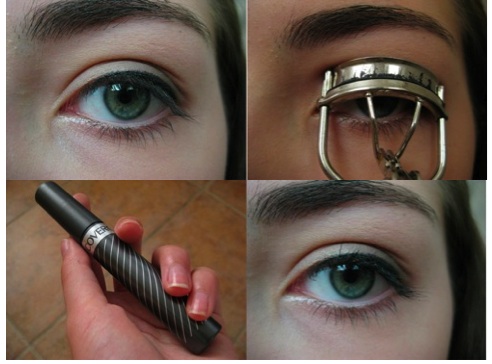
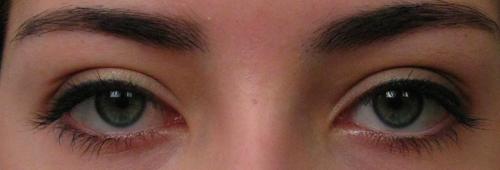
The finished look should be similar to this!
Thanks for reading, if you enjoyed this feel free to suggest future tutorials!
- Emily